July 12, 2024

Nesting woodpeckers are a joy to photograph and offer a big return on time investment. Nesting behavior is an excellent guide to stages in the process, which in turn signal the optimum times for brief observations or extended photo sessions. Additionally, I have found that I can photograph nesting pairs, nestlings, and fledglings without disturbance to the birds or their routine. In large part, this is due to the height of nesting cavities, and by minimizing my movement and always wearing camouflage. In summer, I often find myself beneath subcanopy cover that masks my presence, as well.
The keys to successful nesting woodpecker photography are preparation and knowledge of nesting habits for the various species commonly found in your region.
PREPARATION -
Forests with standing dead trees offer the best opportunites for locating potential nesting sites and/or nesting woodpeckers. Make a mental note of trees that have nesting cavities from prior years because some woodpecker species will return to the same tree from the previous year and either excavate a new cavity, or nest in an existing cavity. For example, red-bellied woodpeckers often return to a tree and excavate a nesting cavity directly below a vacated nest. Northern flickers tend to seek out and utilize unoccupied nesting cavities.
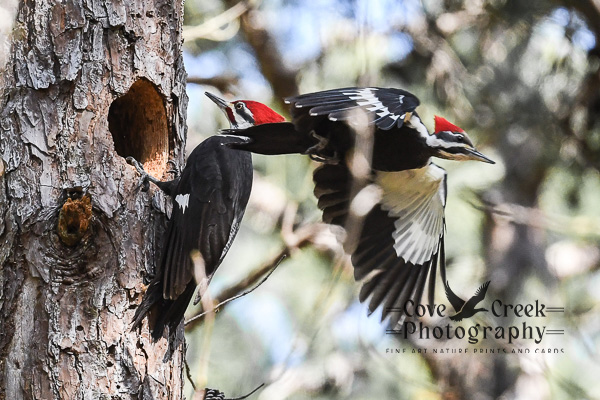
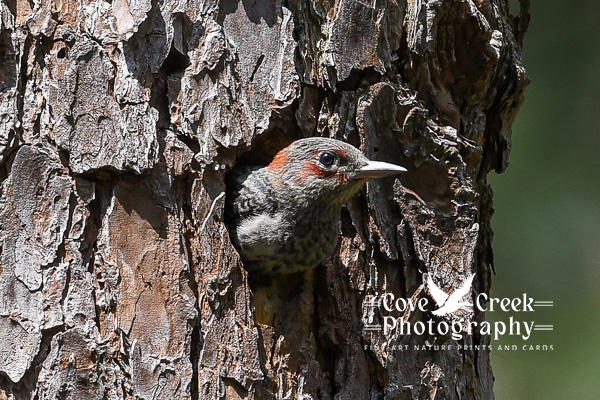
When scouting out potential nesting trees, be aware of the size of entry holes for various woodpecker species. While the entry to a pileated woodpecker nest is large and obvious, those of red-headed and red-bellied woodpeckers may be only two inches in diameter, and are easily overlooked.
Regardless of the woodpecker species, nest height in the tree must be evaluated. Consider the reach of your camera lens and the angle of the shot. Many woodpecker nests are simply too high in the tree and exceed a reasonable distance, even for a telephoto lens. Shot angle is an equally important consideration. "Upshots" rarely, if ever, yield an acceptable image. When making these decisions, also consider the size of the species. Pileated woodpeckers are large birds relative to other woodpecker species, allowing for a bit more distance between subject and camera lens. I have walked away from many woodpecker nests due to nest height or bad camera angle. However, nests that are not ideal for photography, have yielded some excellent instances for observations of nesting behavior.
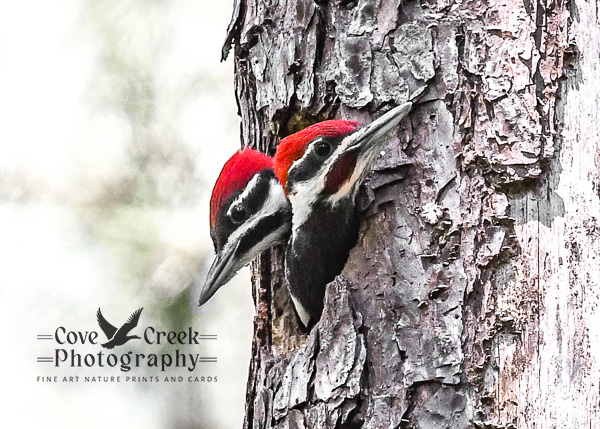
It helps a great deal to be familiar with nesting habits of the various woodpecker species that you intend to photograph. I have found that parent behavior is key in gauging the stage of the nesting process. If one parent remains in the nest until the other parent returns and takes over nesting duties, this is definitely an active nest with incubating eggs or new hatchlings. When a parent leaves the nest with a fecal sac, eggs have hatched and one or more nestlings occupy the nest. From this point on, it's typically 10-14 days before I observe nestlings peaking out of the tree cavity.

PILEATED WOODPECKERS -
I am in the southeastern United States, so I begin watching for pileated woodpecker nesting behavior in late winter. This species begins nesting much earlier than the other woodpecker species, which is advantageous for photography for two reasons: 1) deciduous trees have not yet leafed out, and 2) sight lines are open to dead standing trees. It's a good idea to pause and listen during this time. When pileated woodpeckers are excavating a nesting cavity, the slow, methodical - thunk, thunk, thunk - is unmistakable. Simply follow the sound, and you may be rewarded with the location of the nesting tree. A word of caution - since plieated woodpecker nesting is well underway before deciduous trees leaf out, take this time to to look around at sight lines and nesting cavity aspect. As spring progresses, leafing out may obscure what was once ideal shot angles or cast unwanted shadows onto the nest entrance. Pileated woodpeckers raise only one brood per year, so if this species doesn't work out, you can move on to other woodpecker species.

